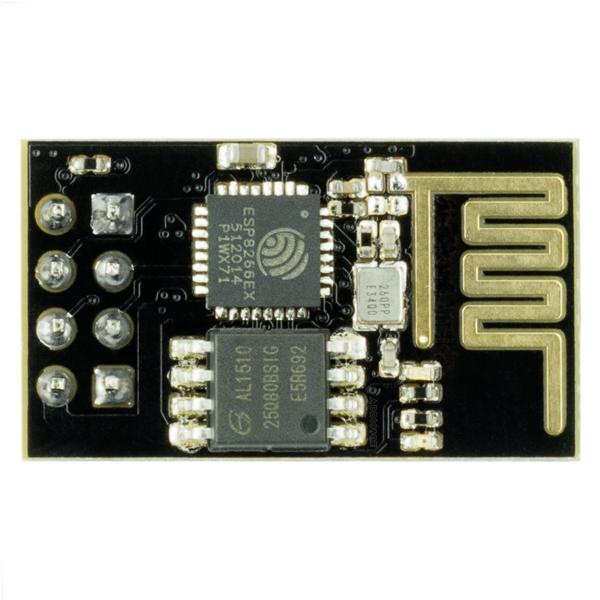
ESP-01 WiFi Module
Inexpensive micro-controller boards like the Arduino UNO, which is part of the Elegoo Smart Car Robot, are capable of doing a wide variety of tasks. The combinations of digital inputs and outputs as well as analog input capabilities make it possible to use the Arduino for a lot of automation projects. Additionally, there are countless sensors, input, and output devices that can be connected to the Arduino making it ideal for a wide range of sensing and control applications. One of the few shortcomings of the Arduino family of boards is that they do not include a means to connect them to the internet.
There is another family of microprocessor boards which is based on an ESP-8266 microprocessor. The input/output capabilities of the ESP-8266 boards are far more limited than those of the Arduino family of micro-controller boards. These ESP-8266 boards do, however, include built in WiFi connectivity. At a cost of a few dollars, these ESP-8266 based boards can be used to compliment the input/output capabilities of the Arduino.
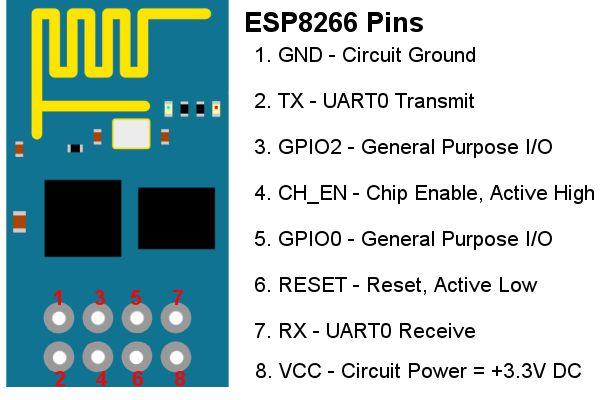
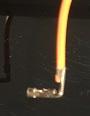
The ESP-01, included with the additional component kit, is an ESP-8266 based circuit board with an 8-pin header which supplies power, initialization, communications, a 2 digital Input/Output pins. The factory installed firmware enables devices to communicate to the ESP-01 through its RX (receive) and TX (transmit) pins and instruct the ESP-01 to connect to WiFi routers, send data, etc. For anyone who wishes to add WiFi capabilities to an Arduino project, this firmware works well.
Like the Arduino, the ESP-01 (and other ESP-8266 boards) can be programmed using the Arduino IDE. The ESP-01 has enough memory that it can serve a very small web page for configuring parameters, as well as for performing firmware updates.
The ESP-01 included in the Elegoo extra parts kit has been pre-programmed with a new version of firmware that can be configured to connect to your home WiFi and let you program and control the Elegoo wirelessly.
Once the ESP-01 is connected to your Elegoo, you will not be able to use the USB cable to program your Elegoo. If you wish to use the USB cable, you will need to completely disconnect the ESP-01.
Electronic components are static sensitive. Take appropriate precautions…
Always make sure the power to the Elegoo is turned off before connecting or disconnecting anything from the Elegoo.
The wires in each kit may have different colours of wires. While the colour of wires isn't important, there are some conventions that are worth trying to follow:
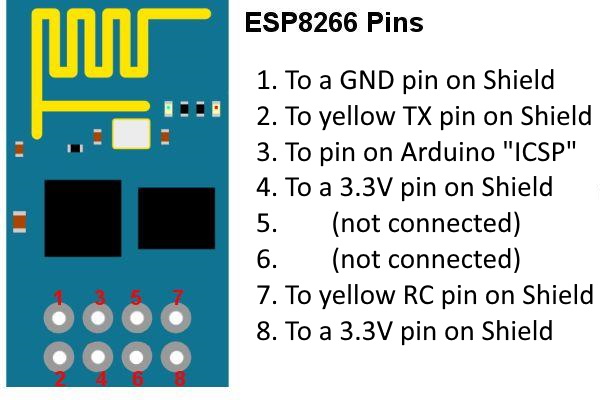
The ESP-01 has 8 pins as illustrated below. When connecting devices it is important to pay attention to the orientation of the board. For example, the pins on this board are on the bottom, however, this illustration shows their positions from the top of the board.
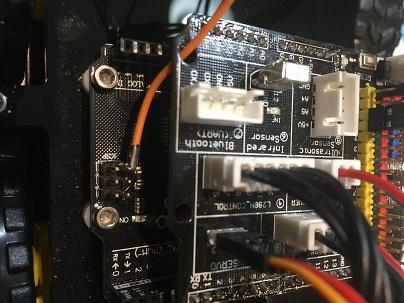
The Bluetooth module that is included in the Elegoo kit works with the Elegoo phone/tablet apps, but it isn't well supported on Windows or Chromebooks. Since it isn't possible to program the Elegoo using the Bluetooth module, the module must be removed every time the firmware on the Elegoo is updated.
Replacing the Bluetooth module with ESP-01 makes it possible to program the Elegoo firmware and control the Elegoo using a game controller connected to a computer.
To connect the ESP-01 to the Elegoo, you will need:
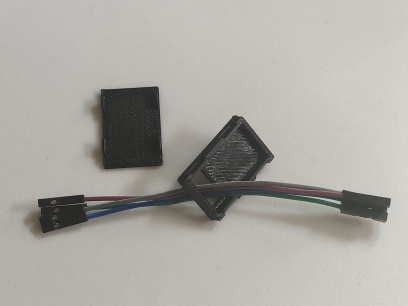
Note that it’s better not to put the top of the ESP-01 enclosure on yet as it will hide the LEDs on the board and you may need to be able to see them to diagnose any problems you have with the ESP-01.
In addition to being able to connect to your WiFi network, the ESP-01 can also act as a WiFi Access Point. The configuration for the ESP-01 can always be accessed by joining it's WiFi network. By default the network name will be TCP2Elegoo.
To configure the ESP-01:
At this point, the ESP-01 should connect to your WiFi network. Reconnect your phone/tablet/computer to your home WiFi. You should now be able to access the ESP-01 configuration page at the http://hostname.local where hostname is the Host Name you set or http://tcp2elegoo.local if you didn't change the Host Name.